


The pleasure of baking bread at home is immensely fulfilling. Pulling a newly made loaf from the oven, with its golden crust crackling as it cools, has a certain charm. Making bread from scratch may seem daunting at first, but it’s possible to experience the delight of handmade bread with a few easy steps and a little perseverance. With the guidance of this beginner’s guide, you will be able to confidently bake your first loaf by following the necessary stages and advice.
Ingredients You’ll Need
Before you begin, gather the following essential ingredients:
- Flour: All-purpose flour works perfectly for beginners, but you can experiment with whole wheat or bread flour as you become more experienced.
- Yeast: Active dry yeast is commonly used for beginner bread recipes. It’s readily available and easy to work with.
- Water: Lukewarm water is ideal to activate the yeast.
- Sugar: A small amount of sugar helps activate the yeast, giving it something to feed on.
- Salt: Salt adds flavor to the bread and helps control yeast activity, ensuring your dough doesn’t rise too quickly.
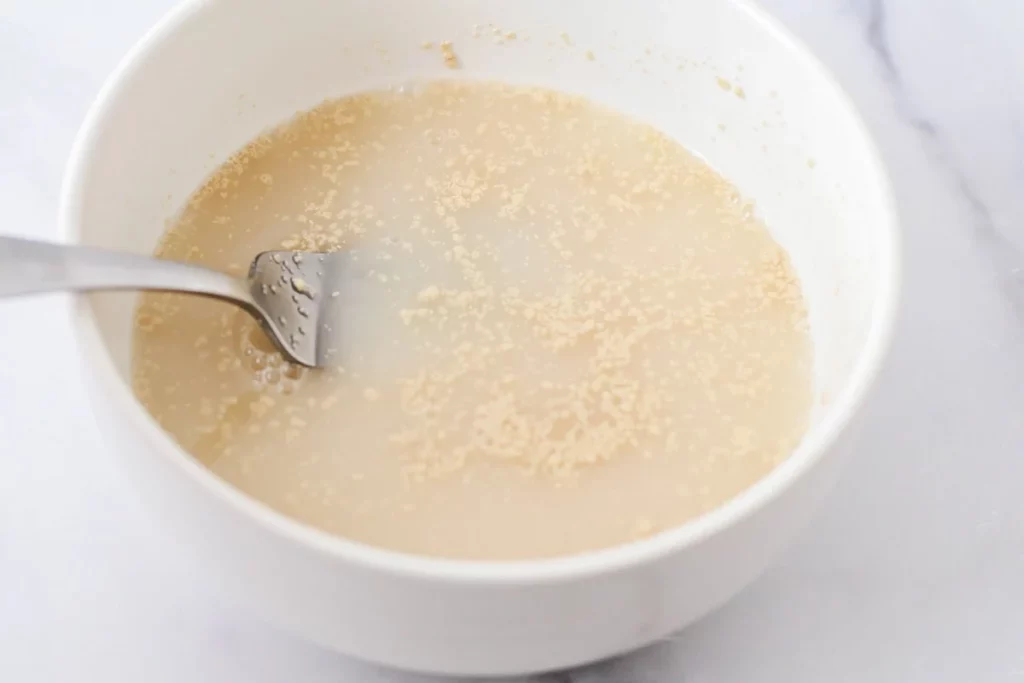
Step 1: Activate the Yeast
Activating the yeast is the first stage in baking bread. By doing this, you can make sure your yeast is active and prepared to aid in the dough’s rising. Put the yeast in a small bowl with a teaspoon of sugar and lukewarm water (approximately 100°F or 38°C). Give it a little stir and leave it for five to ten minutes. Your yeast is active and ready to go if the mixture starts to foam. It’s best to start afresh with fresh yeast if it doesn’t bubble or froth, as yours might have expired.
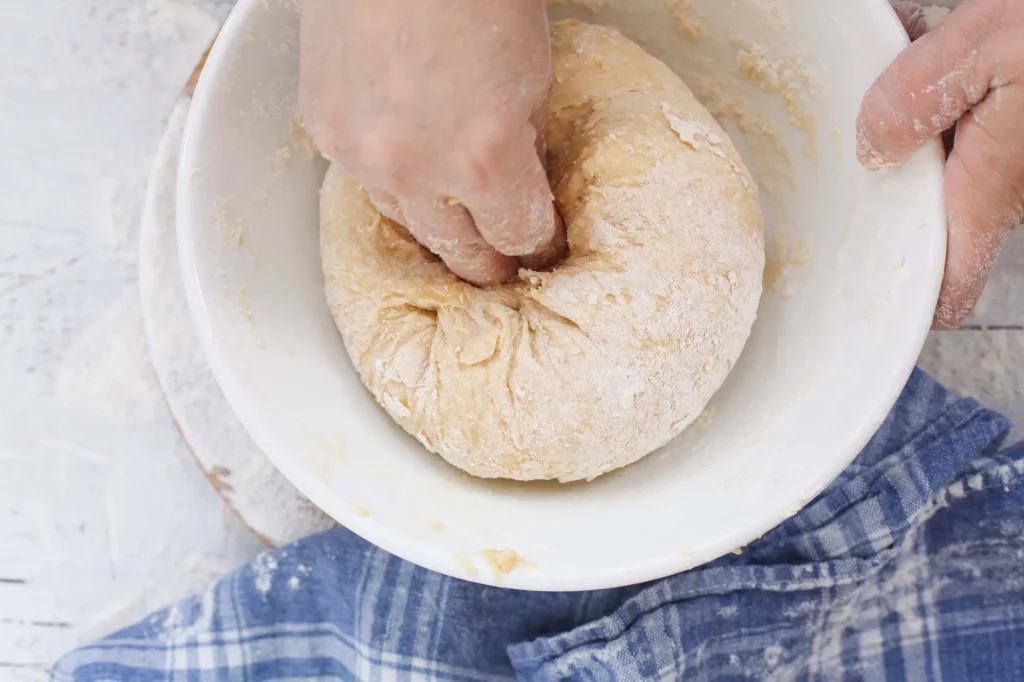
Step 2: Make the Dough
Three cups of flour and one teaspoon of salt should be combined in a large mixing bowl. Pour in the activated yeast mixture after creating a well in the middle. Mix the ingredients together with your hands or a wooden spoon until a dough starts to form. The dough should be workable but not overly sticky. One tablespoon of additional flour at a time can be added if it’s too moist until the desired consistency is achieved.
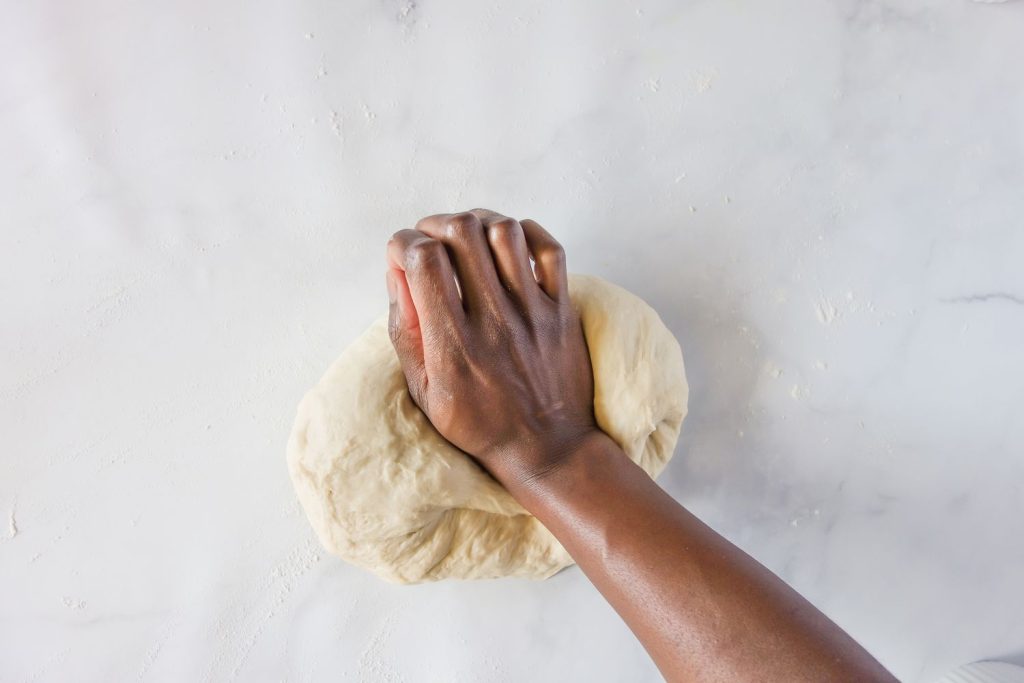
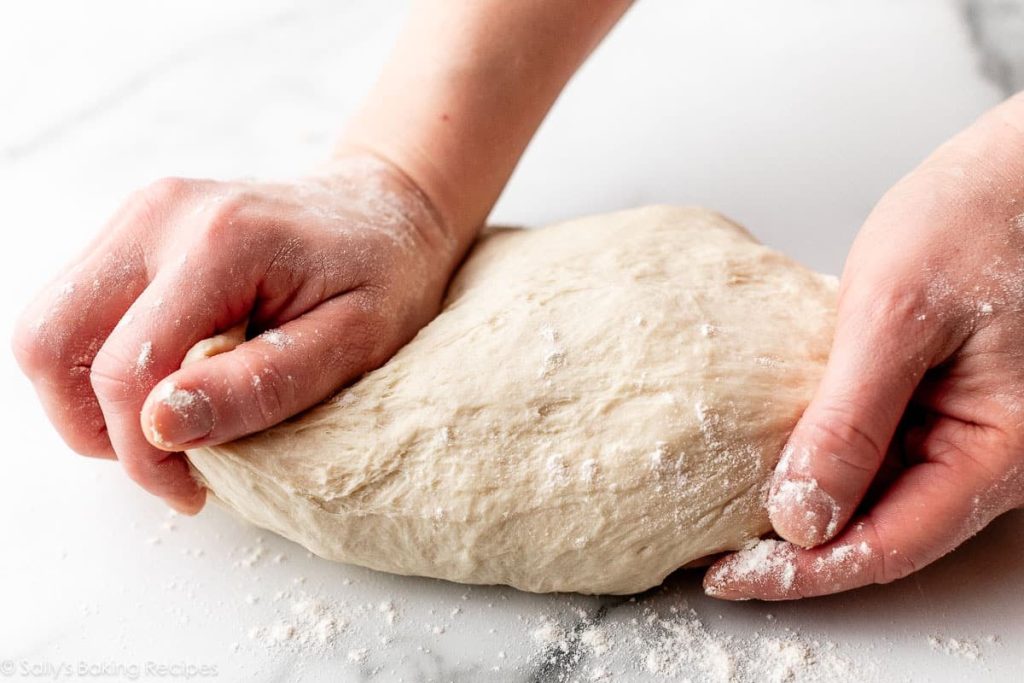
Step 3: Knead the Dough
The development of the gluten in the bread, which gives it structure and a chewy feel, requires kneading. Place the dough on a surface dusted with flour and start kneading. Using the heels of your hands, push the dough away from you, then fold it over and turn it. Keep kneading until the dough is smooth and elastic, about 8 to 10 minutes. Dust your work surface with a little flour if the dough is clinging to your hands.
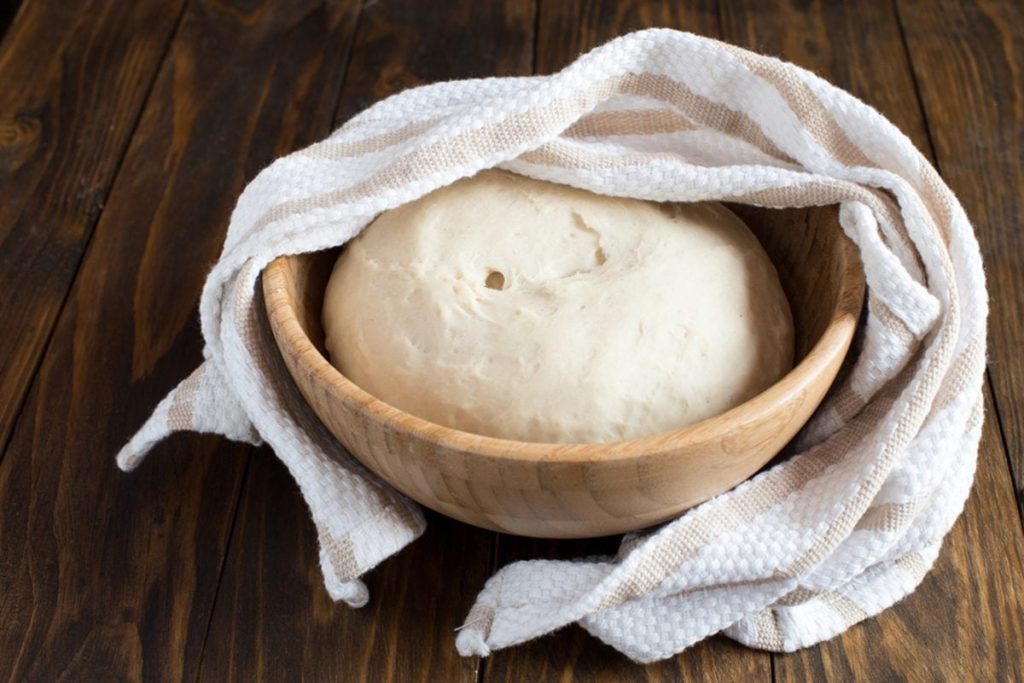
Step 4: Let the Dough Rise
Cover the dough with a moist towel or plastic wrap after placing it in a bowl that has been lightly greased. Allow it to rise for around one to two hours, or until it has doubled in size, in a warm, draft-free environment. The yeast ferments the dough during this period, creating bubbles that cause the dough to expand; this process is known as the “first rise” or “bulk fermentation.”
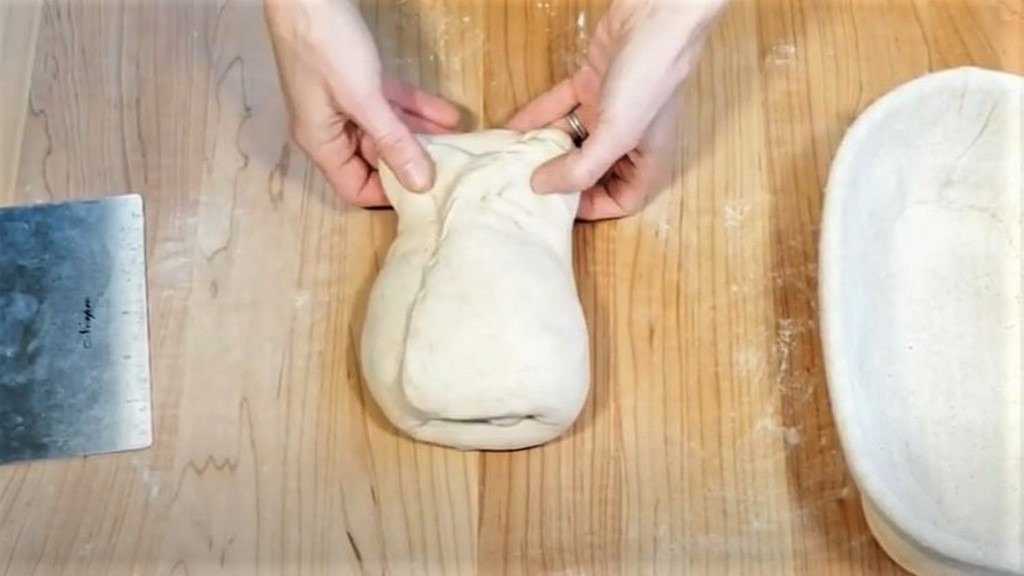
Step 5: Shape the Dough
Punch the dough gently to release the air bubbles once it has risen. Place the dough on a lightly floured surface, fold the edges in toward the center, and roll it tightly to form a loaf. You can either freeform the loaf on a baking sheet or put the formed dough in a loaf pan.
Step 6: Second Rise
Let the dough rest and rise for another 30 minutes to 1 hour. This second rise allows the dough to develop flavor and gives it a light, airy texture.
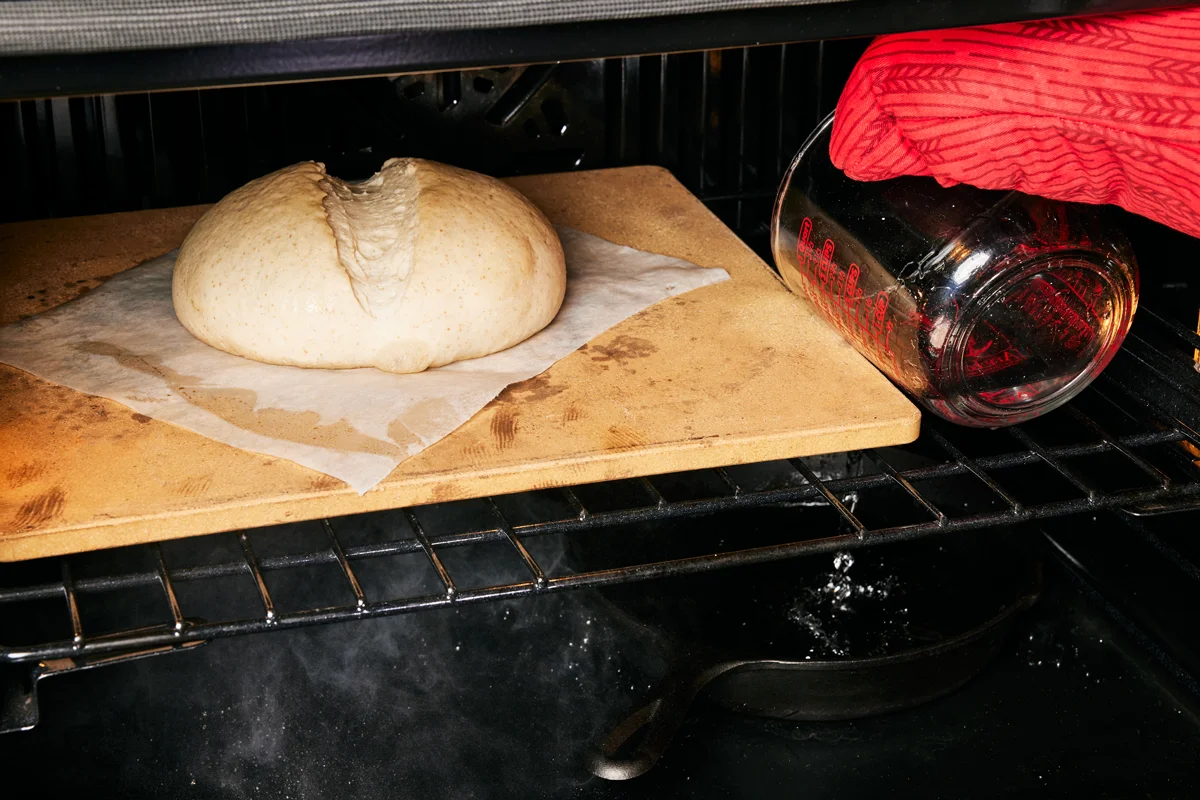
Step 7: Bake the Bread
Set the oven temperature to 375°F, or 190°C. After the second rise is complete, put the dough into a preheated oven and bake it for 25 to 30 minutes, or until it is golden brown and makes a hollow sound when you tap the bottom of the bread. The bread’s interior temperature should rise to roughly 190°F (88°C). You can mist the bread several times while it’s baking to get a crispy crust.
Step 8: Let It Cool
After baking, take the bread out of the oven and place it on a wire rack to cool. This is essential because it enables the bread to solidify and facilitates slicing. Although it may be tempting to start eating the loaf immediately, letting it cool can improve its flavor and texture.
Tips for Success:
- Patience is key: Don’t rush the rising times. The longer the dough has to rise, the more flavor it develops.
- Use a thermometer: An instant-read thermometer can help you know when your bread is fully baked and ensure a perfect loaf every time.
- Experiment with flavors: Once you’re comfortable with the basic recipe, try adding herbs, seeds, or other flavorings to your dough for variety.
- Practice makes perfect: Baking bread takes time to master. Don’t be discouraged if your first loaf isn’t perfect—every batch is a learning experience.